How To Cut a Garden Hose A Simple Guide
Table of Contents []
How To Cut A Garden Hose
Introduction
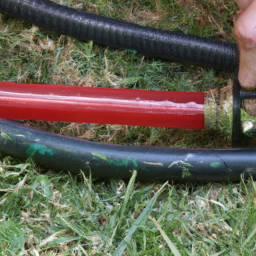
Whether you need to pare down a hose so you can thread it through a small hole or you're just trying to make your hose more manageable, knowing how to cut a garden hose is essential. Whether your garden hose is made of rubber, vinyl, or another material, cutting and resealing a garden hose properly ensures there won't be any water leaks damaging your yard or your home's foundation. Keeping a few simple tools on hand and following the easy steps below guarantee correct and safe cutting and resealing of the garden hose.
Know Your Material
Garden hoses are often made of vinyl, rubber, Teflon, or a rubber/synthetic blend. Knowing the type of material helps ensure success when cutting and resealing the hose.
Choose The Right Tools
In addition to a sharp knife or stanley knife, you may also need a cloth, file, and glue. Depending on the material, you might need a heat/soldering gun as well.
Mark The Cut
Before you attempt to cut the hose, you should make sure it's taut and straight. Once taut, mark the spot for the cut. If you're cutting a crooked line, use a pen/pencil that will not leave a mark on the material.
Cut and Smooth the Edge
Using the sharp knife, cut the hose at the mark. For vinyl hoses, a simple scissors will do. Whether you're using scissors or a knife, make sure you're cutting on a flat surface so the edge is as smooth as possible.
Remove Jagged Edges
After cutting, you'll want to use the file to make sure there are no rough or jagged edges that may cause water leakage.
Glue and Connect
Using the glue, connect the cut edge and/or reseal it. If using a heat/soldering gun, you must make sure the gun is appropriate for the material.
Test
To make certain the cut and reseal was successful, connect the two pieces, fill the hose with water, and test for any water leakage.
In Summary
Knowing how to cut and reseal a garden hose is essential. To guarantee success, you must identify the material type, use the right tools, mark the cut, cut and smooth the edge, remove jagged edges, glue/connect, and test the finished product. Cuts made correctly guarantee there won't be any water leaks damaging your yard or home's foundation.
Previous Page
Next Page